Setting up your Wacom Tablet to use with Reactiv SUITE

Here is a quick guide to setting up your Wacom tablet for the best experience inside of Reactiv SUITE;


1. Plug in your tablet or connect it via Bluetooth to your computer (if your model supports Bluetooth).


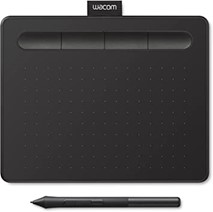
2. Download the latest drivers from Wacom’s support page for your specific tablet (the model number can be found on the box or on the back of the tablet, I.e. Intuos CTL-4100).


3. Install the drivers once they’re downloaded then reboot your PC upon completion.


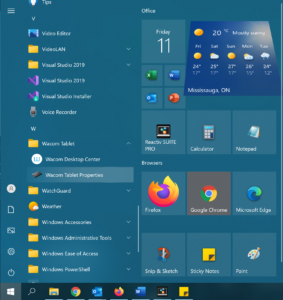
4. With the tablet still plugged in, launch ‘Wacom Tablet Properties’ from your start menu.

Optional (Our recommendations)


5. Depending on which model you’ve purchased, you may have additional buttons located on both your stylus and writing pad. If so, you can customize them inside of the Wacom Tablet Properties application.

6. By clicking on each button you can then change the settings.

i) Button 1 = Modifier > then choose Shift

  • (This becomes the Eraser in Reactiv SUITE)


ii) Button 2 = Keystroke > then press Esc then click okay.

  • (This toggles Fullscreen in Reactiv SUITE)


iii) Button 3 = Keystroke > then press Left then click okay.

  • (Move back a page in Reactiv SUITE)


iv) Button 4 = Keystroke > then press Right then click okay.

  • (Move forward a page in Reactiv SUITE)

* Alternatively, if you have additional buttons on your tablet or if you would prefer to set other functions to your tablet’s buttons, we have a complete list of keyboard and mouse shortcuts here: https://vizetto.com/keyboard-and-mouse/

7. Now that those are done, select Pen at the top.


8. We recommend disabling the buttons on the side of the stylus as we found that they would get clicked accidently.


9. Now that the buttons are setup, you’re good to go with using it inside of Reactiv SUITE!

If your present, teach or coach..

We have the tools to transform your presentation and make you stand out!

Scroll to Top